Getting Started With Administration
An introduction to the creation of projects, user accounts and templates of activities and tasks using your Senomix time tracking software.
Further detail about the functionality described here can be found in your Administration Application Users Guide.
If you plan to connect to QuickBooks or Xero, all of your employee and project information will be imported automatically.
You do not need this guide if you plan to connect with QuickBooks or Xero.
To link to QuickBooks or Xero, please sign in to Senomix and follow the step-by-step instructions shown in your tutorial lessons.
To sign in to your Senomix account, you will connect with your email address username and password along with your office's account name.
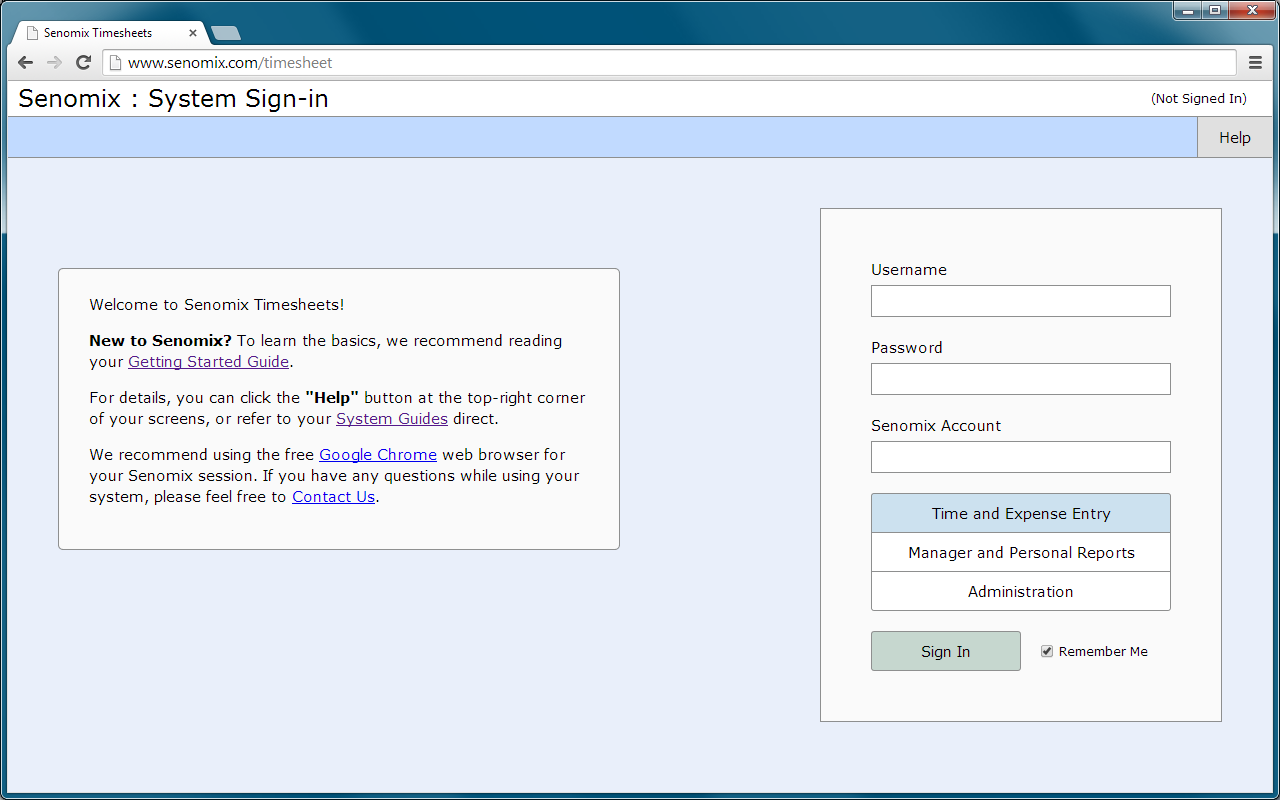
Your application sign-in screen can be reached by opening the web page:
With that screen providing a form in which you can enter your sign-in details:
The email username and password to enter for your sign-in will be those entered for you by your Senomix administrative user (or, for your first sign-in, the email and password you provided when creating your hosting plan account).
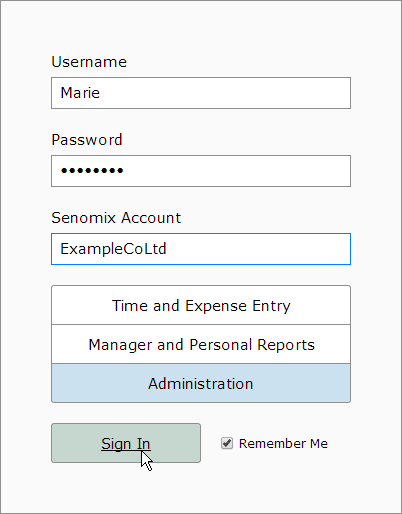
Your office's Senomix Account will be your "Company Name" (as entered when signing up for your Senomix account) with all space characters and punctuation removed. For example, if your "Company Name" was provided as "Example Co. Ltd", the Senomix Account name to enter for your sign-in would be "ExampleCoLtd" (you can also enter your account name in all lower-case letters, like "examplecoltd").
An email with your Senomix account name and other information will have been sent to your office when first registering. If you have forgotten or misplaced your office's Senomix account details, please do Contact Us for assistance.
The Senomix application to which you will be connecting can be selected from the three options provided just above your sign-in button:

Options for your time and expense entry, reports and administration applications are provided, with your selected application highlighted in blue. To sign in to your administration application, the last button will be selected, as shown above.
After entering your email username, password, company account name, and selecting your Senomix application, click the green 'Sign In' button to connect:
You will then be signed in to your Senomix account and brought to your Main Menu screen:

You are now connected to your Senomix administration application.
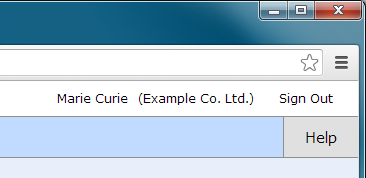
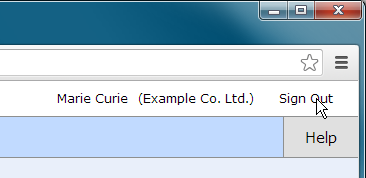
After signing in, your own name and company name can be seen at the top-right corner of every system screen:
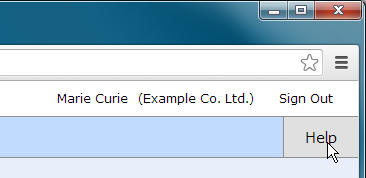
The "Help" button at that top-right corner can be clicked at any time to provide help for the screen you are currently viewing:
And the "Sign Out" link can be used to disconnect your Senomix session:
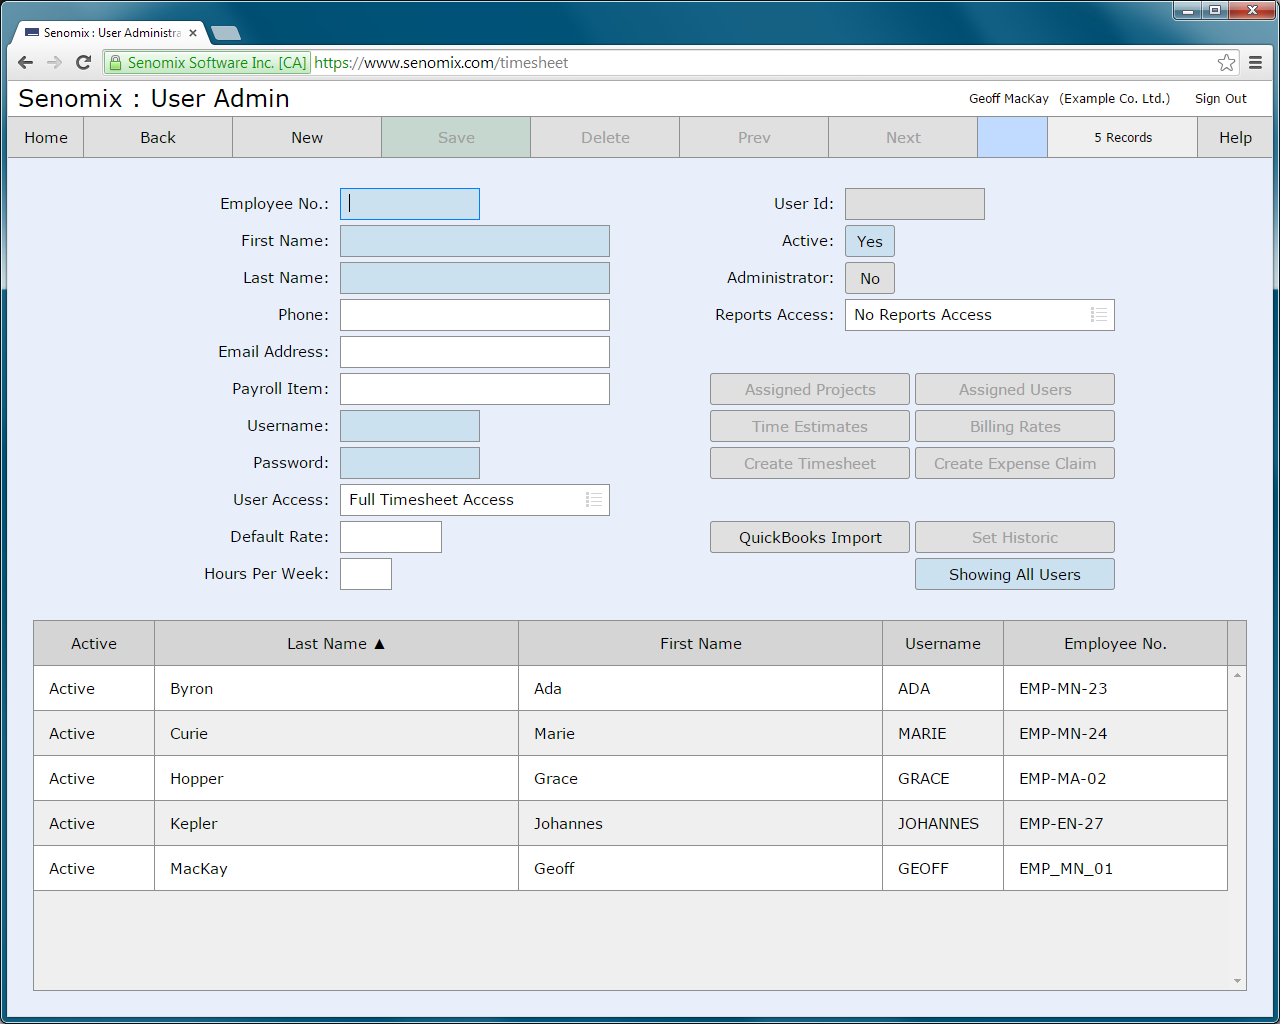
After you have logged in to your Senomix Administration application, you can reach your User Administration screen by clicking the "User Admin" button located at the top of your screen's button bar:

After opening your screen, you will see your own user account listed along with three other example accounts created to provide sample timesheet data for Ada, Marie and Johannes. To bring up your own user account for editing, click your record's row in your screen's table window:
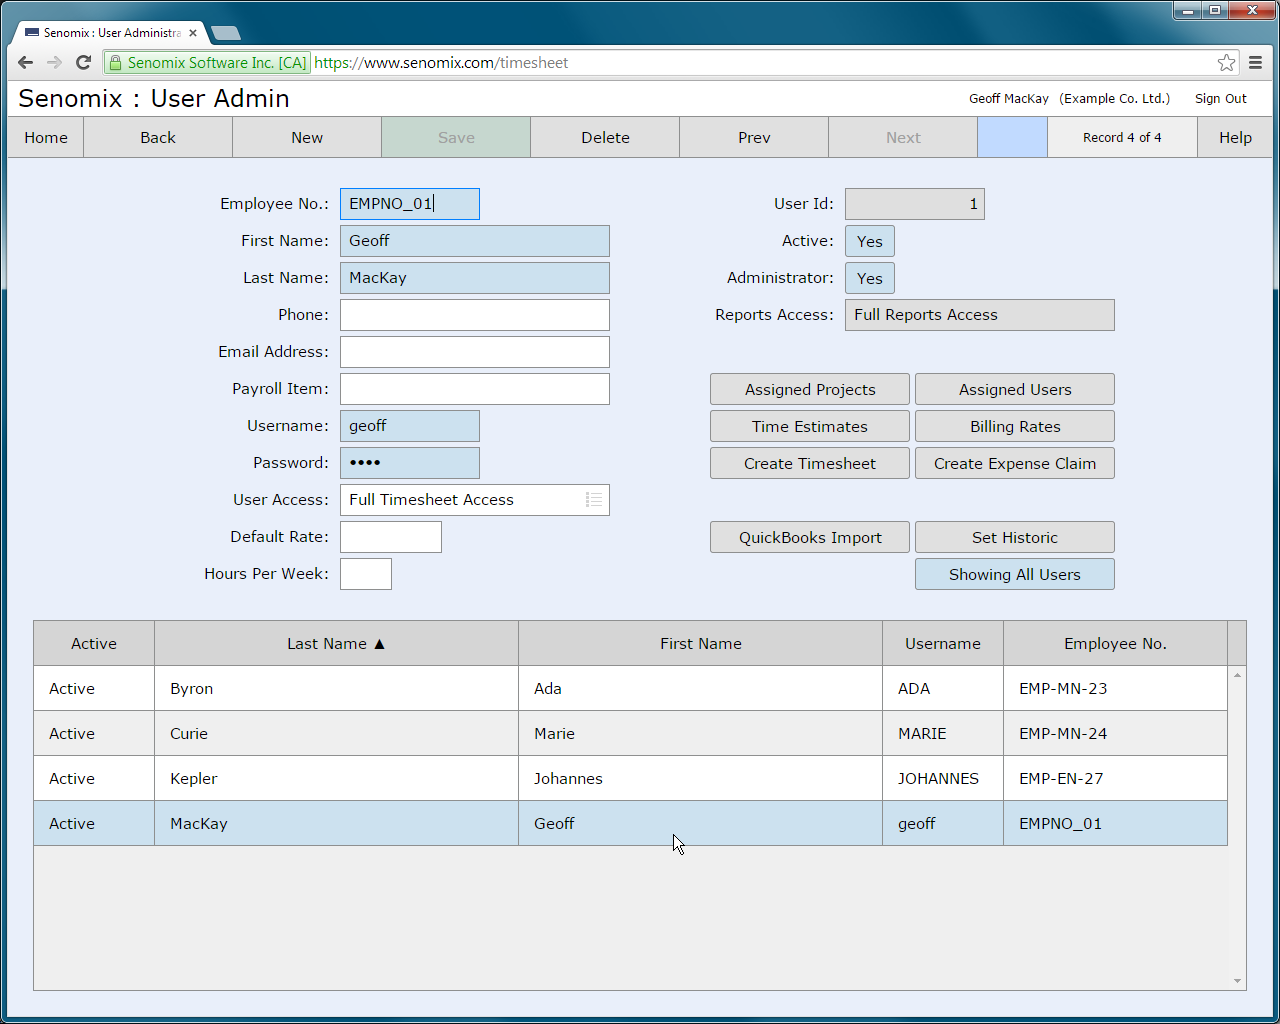
The user information shown will be the values you provided when signing up for your Senomix Timesheets trial. The "Employee No" is set to a default of "EMPNO_01", and the first thing we'll do is update your user account to replace that item and provide your actual employee number.
To change your Senomix user account's employee number, just edit the text displayed on your screen. For example, we'll change Geoff's account here to have an employee number of "EMP-MN-01":

After changing your employee number text, the green "Save" button will be enabled to allow you to save your changes. After clicking that button:
Your changes will be saved, with your user record updated on your office's Senomix server.
Other items can also be updated on your user record in a similar manner. For example, we can add an email address and expected Hours Per Week value to Geoff's account to help in reporting and sending of automatic timesheet reminder messages:

After clicking the "Save" button, those changes will also be stored in the system database.
With your own user account updated, we'll now add a new user account to enable another person in your office to enter time.
To prepare your User Administration screen for a new record, click the "New" button:
After clicking the "New" button, your screen will be cleared to allow you to enter your new user account's details:

Screen items highlighted with a blue background must be entered, and all other items are optional. To add your new user account, just enter the person's details and click the "Save" button on your screen's toolbar.
For example, user account details for Grace Hopper could be entered:

With the "Save" button clicked to add her account to the system:
Once a user record has been created for an employee, that person can then connect to your office's Senomix system to record their time and expenses. Note that after clicking the "Save" button to add the new user to your system, the user record will appear in the table window at the bottom of your screen, and the screen will be cleared to allow you to enter another user. To select the record just entered, you can click the table window row to bring that user up for review and editing.
Quick Tip
To allow a system user to approve the timesheets of other employees from the Timesheet
Entry application, you can assign users to their scope of responsibility using
the "Assigned Users" button on this screen.
You can also limit the projects which an employee can view on their timesheets
and expense claims by using the "Assigned Projects" button.
Other items of interest for this screen can be found in your Senomix
Administration Application User Guide.
You have now learned how to edit your own Senomix user account and add user accounts for other employees in your office. We're now ready to start adding your office's Projects to the system.
Before we move on to that though, we'll review the way in which Projects, Activities, Tasks and Project Templates relate to each other within your system.
A single timesheet in your system follows the structure of a traditional paper-based timesheet:

A grid layout can be seen, with the hours worked for each day of the week entered under a column titled with that day's name. Those hours in turn are assigned in each row to a set of billing codes listed in the project, activity and task columns to identify the project under which that work was performed, with a "Bill" column indicating with a checkbox whether or not the work entered on that line is to be considered billable or non-billable.
The activity and task billing codes are each dependent upon the 'parent' billing code selected before them in the timesheet's row. This provides a hierarchy of billing codes to enable an employee to indicate their logged time in as little or as much detail as required for their work. The available activity and task billing codes will change depending upon the project selected for the timesheet row. For example, if you selected the Project "Widget Co. Project" and the Activity "Analysis", the following task options would be made available for selection:
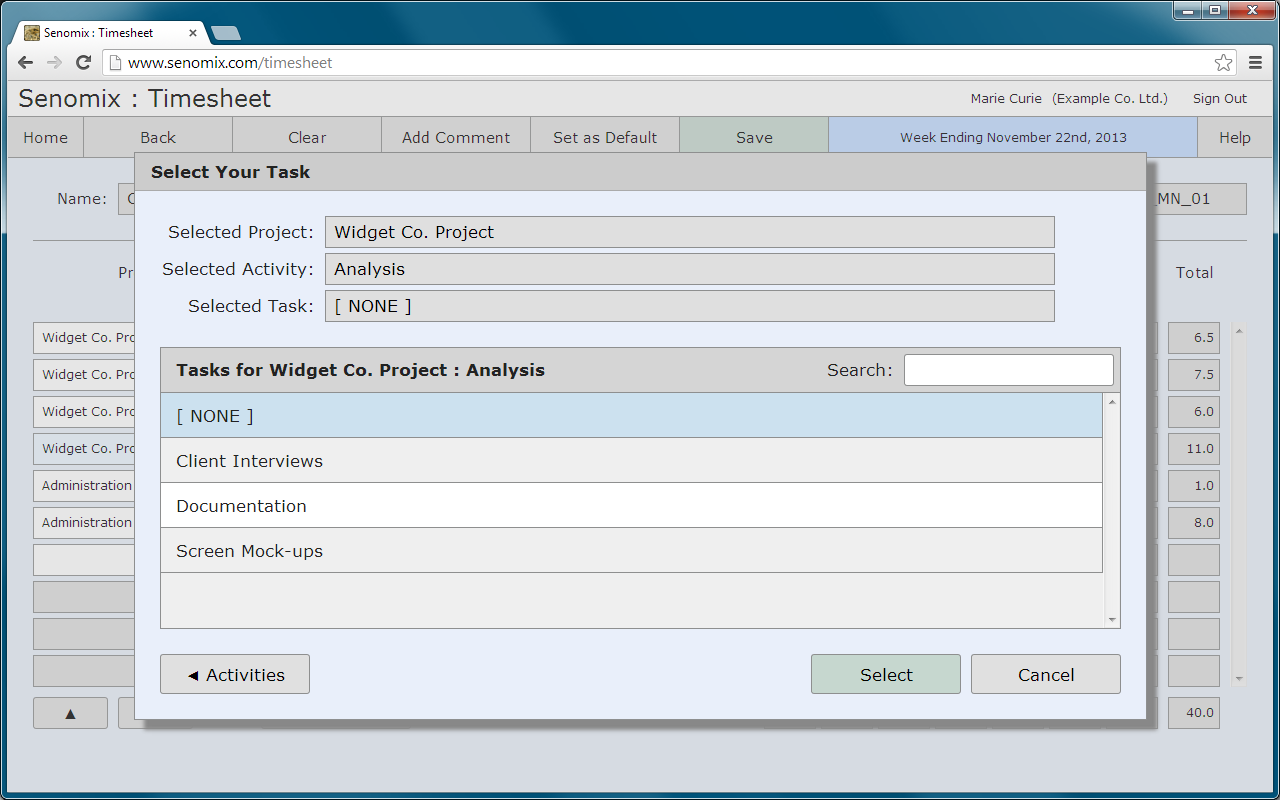
Senomix billing codes can be adjusted to fit the level of precision required for time tracking of each employee. Depending upon the responsibilities of an individual working on a project, this can result in time being tracked on a task-by-task basis or simply by project if a particular activity or task cannot be identified for a person's work.
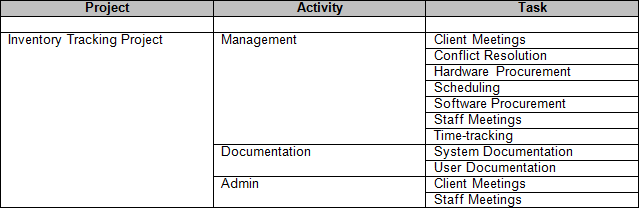
Billing codes can accommodate both unchanging projects (which use the same billing codes year-after-year) and development and system maintenance environments in which project requirements must be quickly addressed as they emerge. Considering an example project for the creation of an inventory tracking system, an initial set of billing codes might be created as follows:
The activities and tasks of Senomix projects can be managed through one or more project template records. A project template is a special type of project whose activities and tasks can be assigned to one or more different projects but is not referenced directly as a project itself.
When a project template's activity and task records are adjusted, the changes made to that template will apply immediately to all projects assigned to use it. This provides you with a centralized way to manage the activity and task options for dozens, hundreds or thousands of projects at once without requiring numerous edits to each project affected by a billing code change.
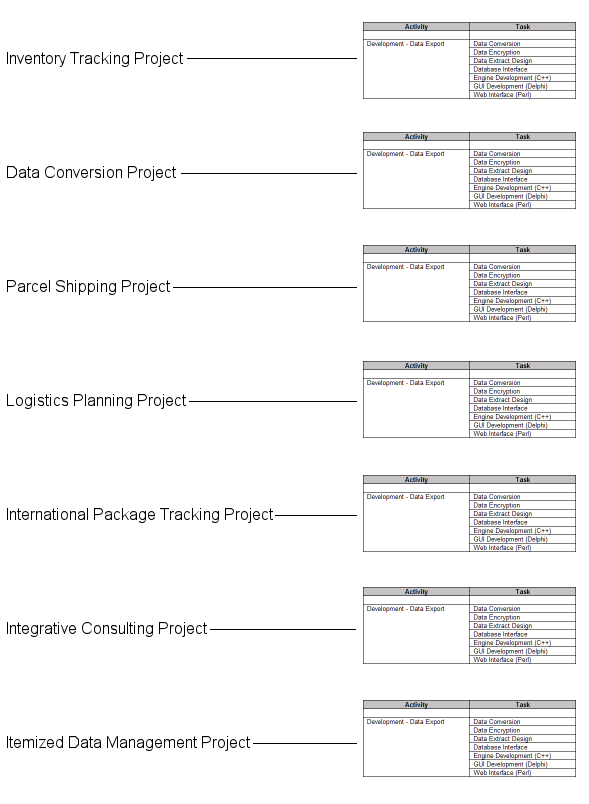
For example, if a development project was created as a project template and that template was then assigned to a few dozen projects, any changes made to the template's list of items would be applied to all projects at once without any other changes needed.
Showing this in a diagram, project templates allow multiple projects to 'point to' the same, single set of activities and tasks:

Whereas a set of standard projects (often created through a project copy action) will each have their own set of individual activity and task records:
Although the activities and tasks are still named identically after performing a project copy, each set of billing codes are created and edited independently (which can make the management of your Senomix projects more difficult over time). To avoid this, project templates should be used in place of 'project copy' whenever possible.
Project templates should be used for all projects in your office which have a similar structure.
A 'project copy' action should only be performed to help set up a new project template, or to create custom activity and task lists if your office performs a few large-scale projects each year. For simplicity, long-term projects which will only be referenced once in your system (such as internal records for recording in-house administration or vacation time) should be created without using a project template. All other work should reference your office's own set of project templates.
Now that we've reviewed the structure of projects in your Senomix system, we're now ready to create a project record for your own use. Your Project Administration screen can be reached from your system's Main Menu by clicking the "Project Admin" button:

As part of your Senomix trial, you will already see four example project records present:

The Administration, Banzai, Widget, and Yoyodyne projects have been provided as an example of how your records can be structured, and have been used in the sample timesheets included with your system. The Administration and Widget Co. projects are both stand-alone projects with activity and task lists of their own, whereas the Banzai and Yoyodyne projects use a shared project template (named System Development).
Just as you created new user accounts, you can also create a project record of your own by clicking the "New" toolbar button to prepare your screen for a new record and then entering data in the appropriate fields. After clicking the "Save" button, you will see your new project record displayed in the screen's lower table window, like this example of "My Project":
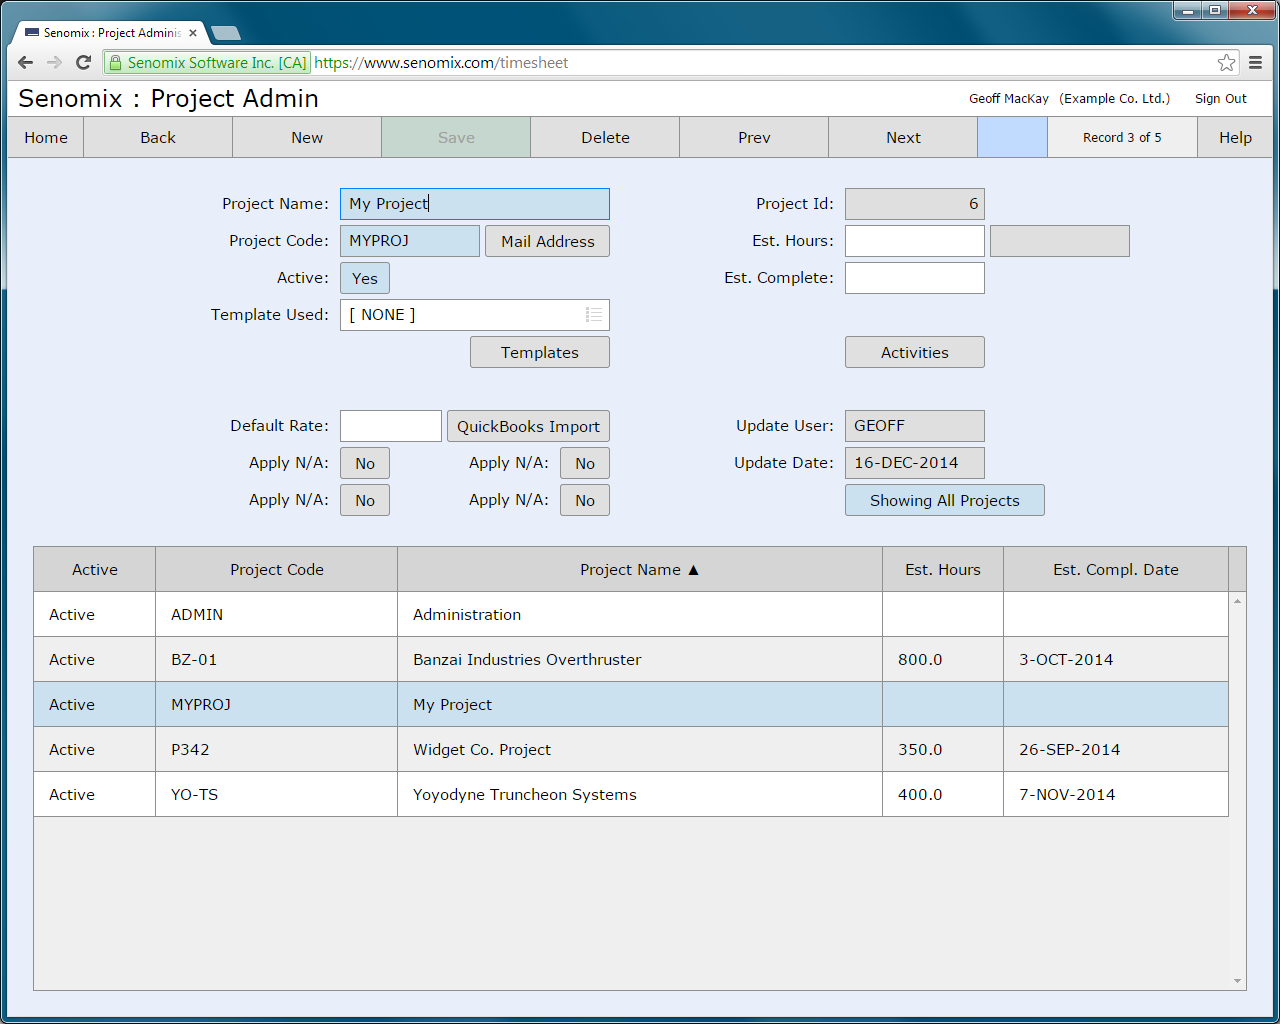
The project, activity and task codes of each record can store a unique identifier used by your office for tracking your work. For example, a project number assigned by your office could be entered for each project record's project code. If a project, activity or task code is not required by your office, you can enter a number, letter or abbreviation for the work as you would like.
Each of the project, activity and task administration screens can be set to order the records displayed in your screen's table window either by the record's project/activity/task code or by the record's name, with the ordering of choice indicated by an upward-pointing arrow in the column header. To change whether records are listed in project/activity/task code or name-order, just click the column header in your screen's table window.
After selecting a project of interest from the lower table window, activities for stand-alone projects can be reached by clicking the "Activities" button, with the activities for template-using projects reached through the "Templates" button.
For example, since the "Widget Co. Project" was created as a stand-alone project (instead of using a project template, as with the Banzai and Yoyodyne example projects), clicking the "Activities button will show all activities associated with that project:

Similarly, you can select any activity record and see its associated tasks by clicking the "Tasks" button on your activities screen.
Projects, activities and tasks can also be imported from your QuickBooks or Xero accounting package. Instructions for performing a data import can be found in your Administration Application Users Guide.
Instead of creating activity and task records for each of your office's projects, you can create a template of activities and tasks which you can reuse for many projects at once. Project templates are created and managed in the same way as regular projects, with templated activities and tasks applied to as many different projects as you would like. If your office records time for multiple projects using the same activity and task structure, you will find it easiest to manage your system through the use of project templates.
You can create as many different project templates as you need to record the different types of work performed by your office, and can also create custom projects with their own individual activities and tasks. Both templated and standard projects can be used together in Senomix and both behave the same way in system timesheets and reports, so your staff will not need to concern themselves with how you have chosen to implement your project records.
To manage project templates in your office, click the "Templates" button located on your project administration screen:
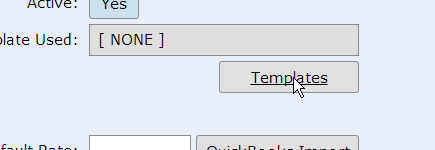
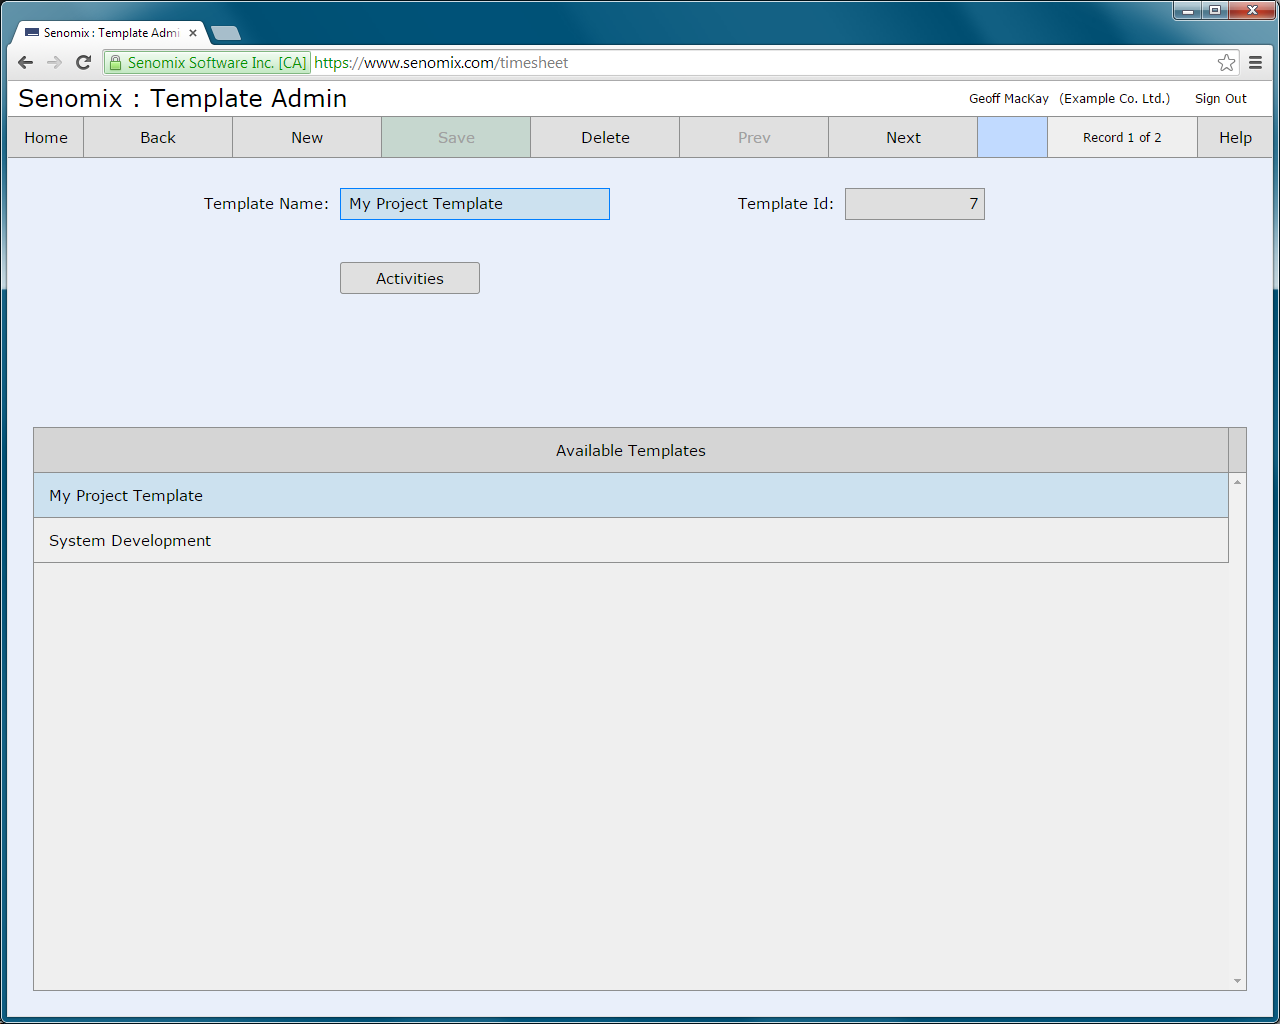
This will open your template administration screen:

A System Development template (used by the example Banzai and Yoyodyne projects) has been included with your office's trial data and will be shown listed in your template screen.
Just like the user and project records you created before, you can create a new template for your office by clicking the "New" button on your screen's toolbar to prepare your screen for a new record, and then entering the name for your template. After clicking the "Save" toolbar button, you will then see your new template available for selection in your screen's lower table window, as with this example of "My Project Template":
You can add activities and tasks to your template by selecting the template of interest, clicking the "Activities" button, and then adding whatever items you would like your template to hold:

To assign your template to a project, return to your project administration screen and select the project to which you would like to assign your template. In this case, we will select the "My Project" record created as an example in the previous section.

A template can be assigned to a selected project by clicking the "Template Used" selector:

Your selected template can then be returned by clicking the green "Select" button:

With that selection made, the project is now set to use the selected template, with the "Template Used" field displaying the name of the chosen template:

Once a template has been set for your project, click the "Save" button on your screen's toolbar to save the change to your project record. After saving your change, all of the activities and tasks created for your template will be available under your project whenever that project is used in your system timesheets, expense claims, and reports.
Please note: If your office's timesheet week ends on a Sunday, your system is already configured for that day.
If your office's timesheet week ends on a Sunday, please skip this section.
To ensure your Senomix system matches the calendar of your office, you will want to set the week ending date of your timesheets to match your own office's week ending day.
Starting at your Main Menu screen again, click the "Configuration" button:

This will open your Configuration Sub-Menu screen:

On that screen, click the "Settings" button. This will open your Settings screen:

From your Settings screen, click the "Week Ending Date" button. This will open your Week Ending Date Administration screen:
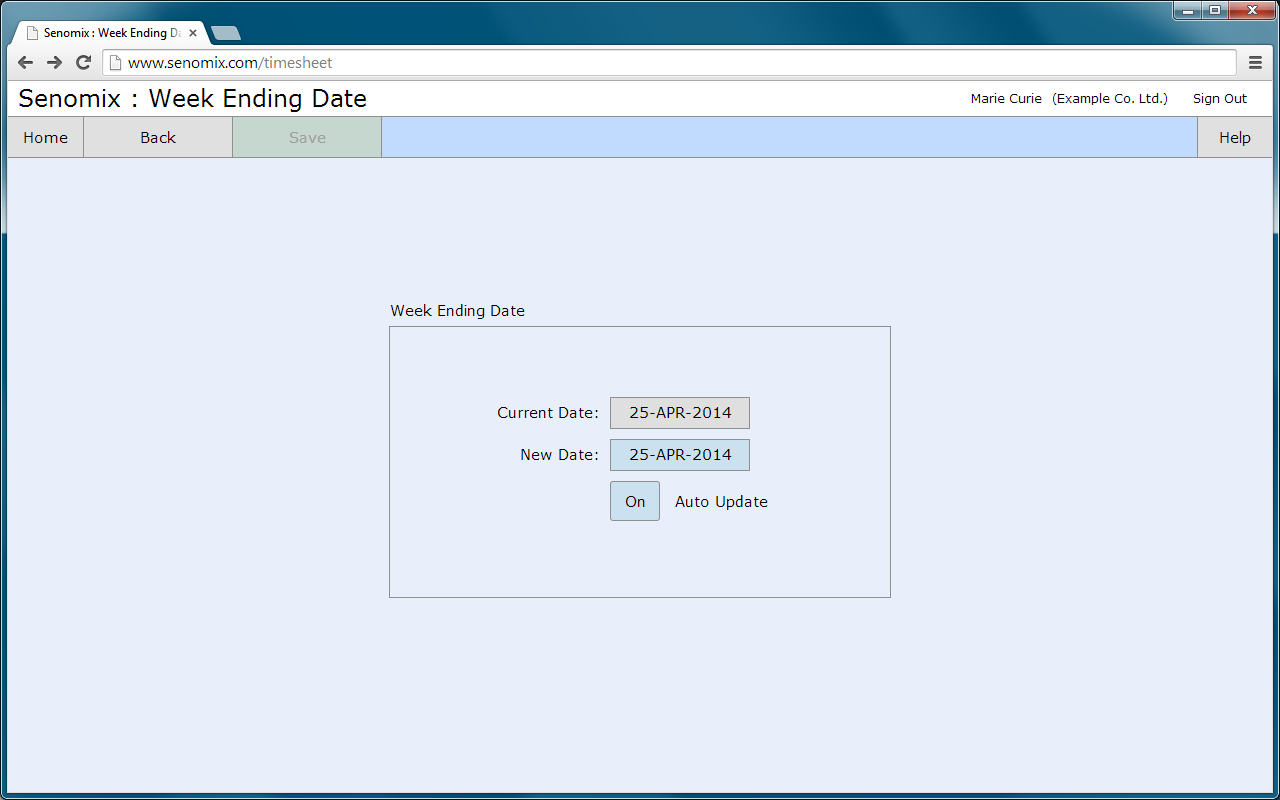
This screen displays the date which your system will set as the end of your timesheet week. When the "Auto-Update" checkbox is clicked on, your system will automatically move forward to the next timesheet week once the displayed date has passed. So, once you have set the end of your week in Senomix, your system can be left to manage itself.
If your office's timesheet week ends on Sunday, no changes are necessary: You will see your system is already set to your current timesheet week.
If your office's timesheet week ends on a day other than Sunday, you will want to set your system to reflect your office's timesheet week. To do this, click the "New Date" field and select your office's week end day for the current week. For example, if your office's timesheet week end falls on a Saturday, you would want to select the date for the upcoming Saturday in your date selector:

After selecting the week ending date for your current timesheet week, you will see the "New Date" field set to your selected day:

With your timesheet week ending date set, click the "Save" toolbar button. After clicking that button, a confirmation prompt will be shown:
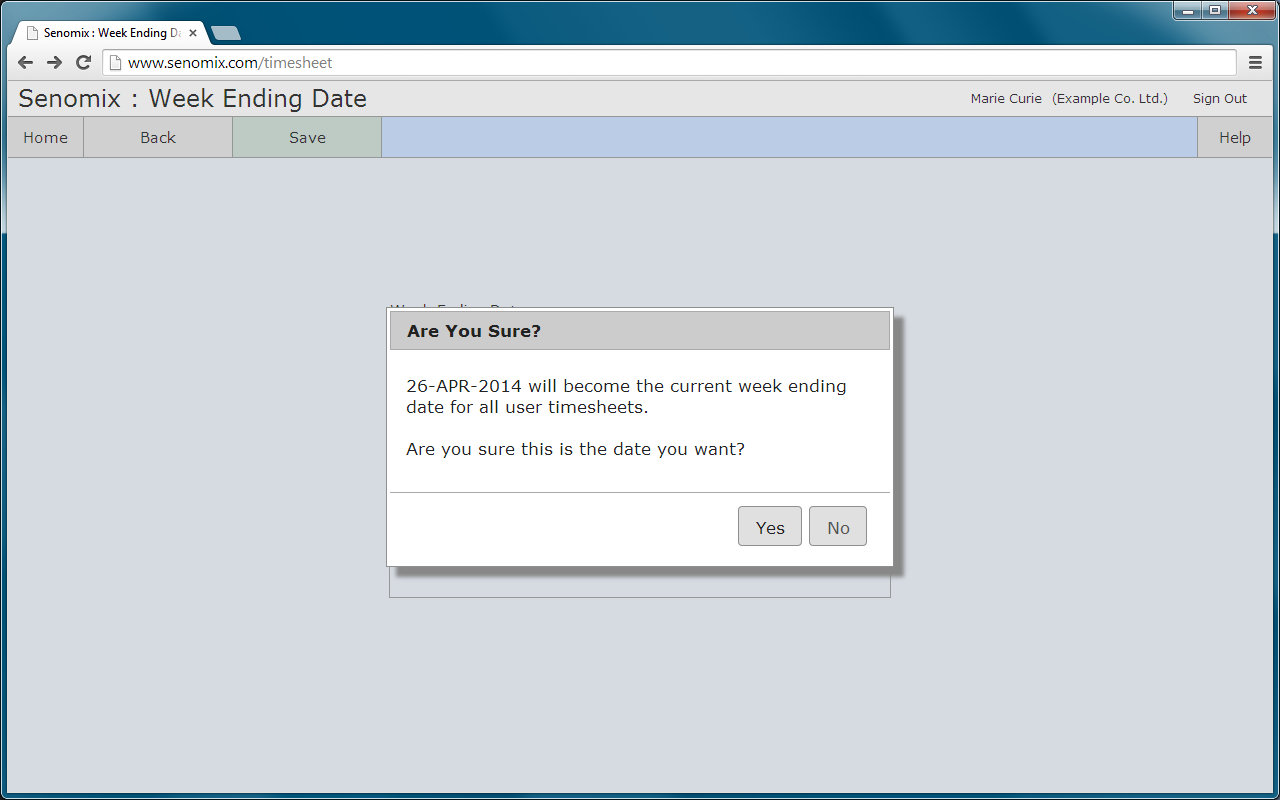
After confirming you have set the correct week end day for your office, click "Yes". A confirmation popup will then be shown:

Your office's week ending date has now been set, and you will not need to use your Week Ending Date Administration screen again. You can close your confirmation popup by clicking anywhere on your screen.
Your Senomix Timesheets System is now ready to accept timesheets for your office.
At this point, you have learned how to connect to your Senomix account, create and edit user records, set your system-wide week ending date, and have familiarized yourself with the basics of creating and managing project records. You are now ready to move on to the user guides for your Time Entry and Administration applications.
Your user guides can be reached at any time by clicking the "Help" button provided on each of your system screens. You can also reference all guides directly from your Documentation page at:
Detailed descriptions of all system screens can be found in your user guides, with a quick reference also provided on your How Do I..? page at:
Your How Do I..? page provides step by step instructions for many common system functions such as saving a timesheet, reviewing timesheets from past weeks, and submitting expense claims.
For your next step, we recommend reading your Getting Started With Timesheet Entry guide. That guide shows you the process of entering time through your Timesheet Entry screen.
Instructions for other timesheet entry features, such as your Senomix Stopwatch (which will automatically record time for you as a background process), can be found in your Time Entry User Guide. After reviewing your Getting Started Guides, you may find it easiest to simply click through your Senomix screens to familiarize yourself with your system and click your "Help" button when you would like further information.
If you have any questions while learning to use your new system, you can contact us by e-mail at support@senomix.com or call us at our Toronto office during (North American Eastern Time) office hours to speak directly with someone familiar with your system.
Our phone number, e-mail addresses and an online contact form can be reached through the Contact page of our web site:
We hope you find Senomix a helpful addition to your office and welcome any suggestions you might have as to how your system can better serve you in the future.